How to Restore Window Boxes and Siding Damage
Exposed to the harsh elements, window boxes and siding often need to be repaired and restored.
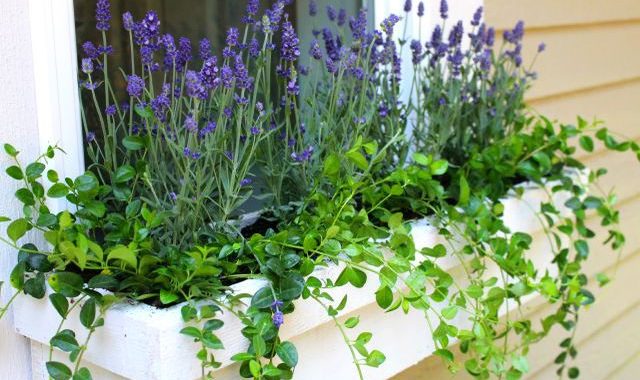
“Three years ago, we bought a little cottage with cove lap siding. [Also called Dutch or German lap siding, this has a similar pattern outline as rustic lap siding, but with a curved reveal that shows between boards when installed.] I was delighted to find a long wooden window box bolted underneath the front windows. I happily filled it with potting soil and annuals. After a couple of seasons, we noticed the box had begun to pull away from the house. I removed the dirt and found that not only was the box rotting but also that damage had migrated to the siding”. — Catskill Mary
The Fix
Placing a wood container (worse yet, an unlined one) filled with wet soil in direct contact with siding is an invitation to disaster. Outcomes range from water-related rot like Mary’s to incursions by wood-chewing insects such as carpenter ants and termites. The first step, naturally, is to remove the box and then replace or patch any damaged areas of siding, making sure there is no insect activity.
The new window box will be supported by L-shaped metal brackets screwed into a cleat (or furring strips) attached to the siding, allowing at least 1″ of clearance between the box and the surface of the siding. Window boxes are traditionally made of rot-resistant woods like cedar, but you can opt for a lightweight, rot-proof planter made of extruded fiberglass. Some are very nice, with period-friendly moulding profiles.
Use at least one bracket for every 3′ of box length. Place the unattached brackets in position against the cleats and level them, making sure they’re at least 1″ clear of the bottom of the windowsill. (If yours are casement windows that open outward, allow at least 8″ additional clearance above the box to avoid knocking over plants.) Still holding the brackets in position, drill pilot holes for the fasteners at a slightly upward angle. This will make it harder for water to get into the wood once the bolts are in place.
Fasten the brackets to the house with 3″-long lag bolts or galvanized wood-decking screws. Drill through the cleat and siding, ideally into a stud (there should be a stud framing either side of the window).
Now mount the window box; the weight of the soil should be enough to hold it in place. Drill drainage holes in the bottom, and if you’ve chosen cedar, line the box with plastic sheeting, galvanized metal, or plastic planters before loading in new soil. Enjoy the flowers!